How to apply your wall decal
Step 1
Clean wall surface
Prepare the Surface: Start by ensuring the surface where you plan to apply the decal is clean, dry, and smooth. Use a damp cloth to wipe away any dust, dirt, or residue, and allow the surface to dry completely before proceeding.
Step 2
Trimming Decal
Trimming excess vinyl: Begin by cutting away the surrounding negative space where the decal is not present, this will help make a smoother application process.
Step 3
Removing Decal from Back Sheet
Removing decal from back sheet: Once you're satisfied with the placement, start from one corner and slowly peel away the backing paper.
Step 4
Apply to Wall
Press decal to wall: With decal in hand, apply decal to wall. Work gradually, smoothing out any air bubbles or wrinkles as you go to ensure a smooth, even application.
Step 5
Remove Application Tape
Remove the Transfer Tape: Gently peel it away at a down angle, starting from one corner. Take your time and work slowly to avoid lifting any parts of the decal off the wall.
Step 6
Repeat steps for all sections
Repeat steps 1-5 if your decal design comes in multiple sections: Remember, practice makes perfect! If it's your first time applying a wall decal, don't worry if it takes a little time to get the hang of it. With patience and attention to detail, you'll achieve professional-looking results in no time.
-
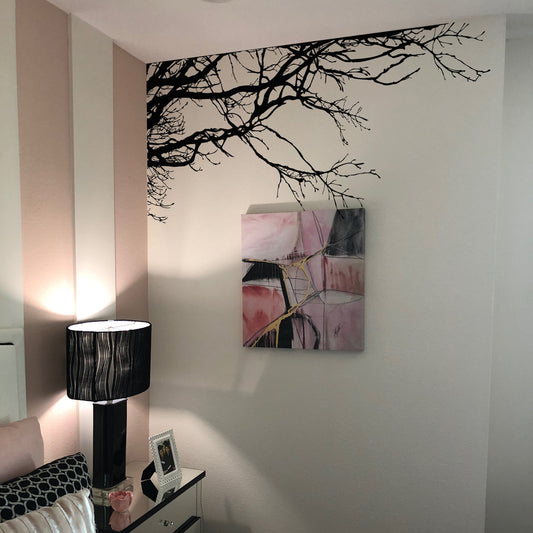
Tree Top Branches Wall Decal. Corner Edge Application Decor. #444
Regular price From $39.97 USDRegular priceUnit price per$74.95 USDSale price From $39.97 USDSale -
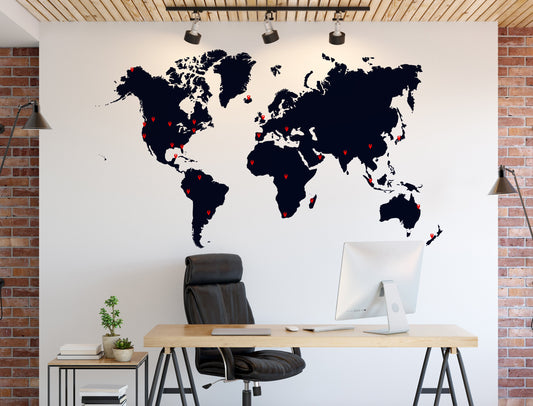
World Map Wall Decal Sticker With Location Pin Drops. #873
Regular price From $49.97 USDRegular priceUnit price per$69.95 USDSale price From $49.97 USDSale -
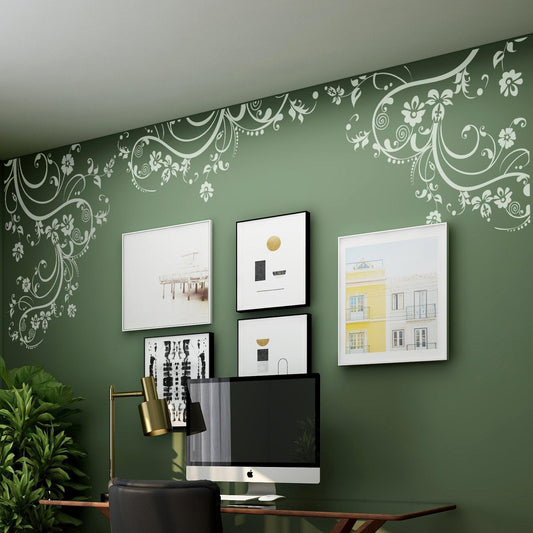
Swirl Flower Floral Design Vinyl Wall Decal Sticker. #262
Regular price From $19.97 USDRegular priceUnit price per -
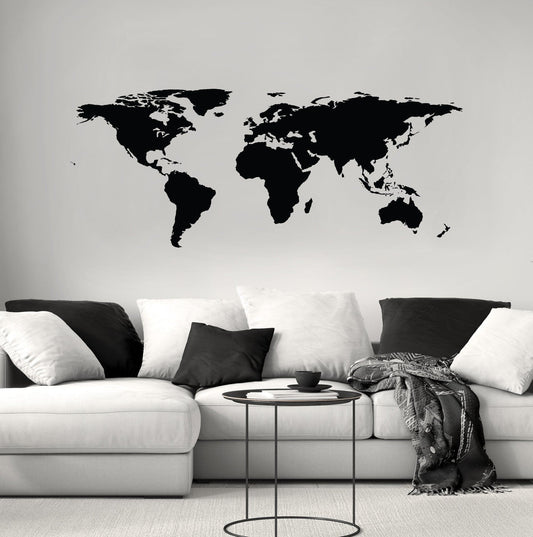
World Map Wall Decal. Great Living Room Decor. #131
Regular price From $24.97 USDRegular priceUnit price per -
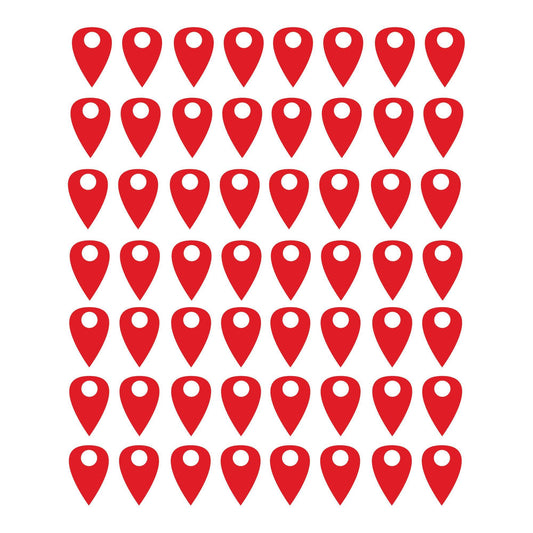
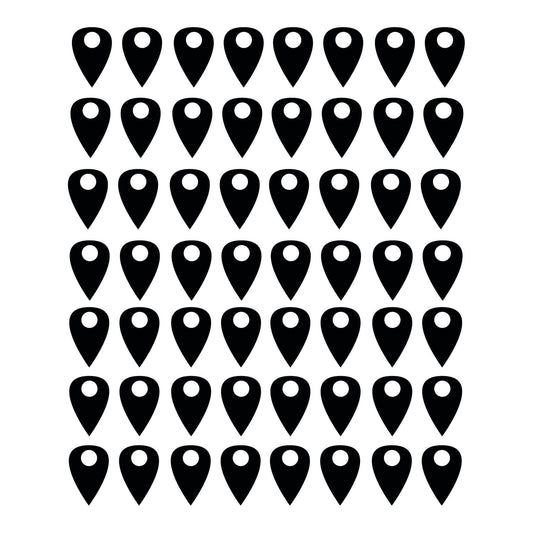
Extra Pins for World Map Decal Vinyl Wall Decal Sticker. #1272
Regular price From $9.97 USDRegular priceUnit price per -
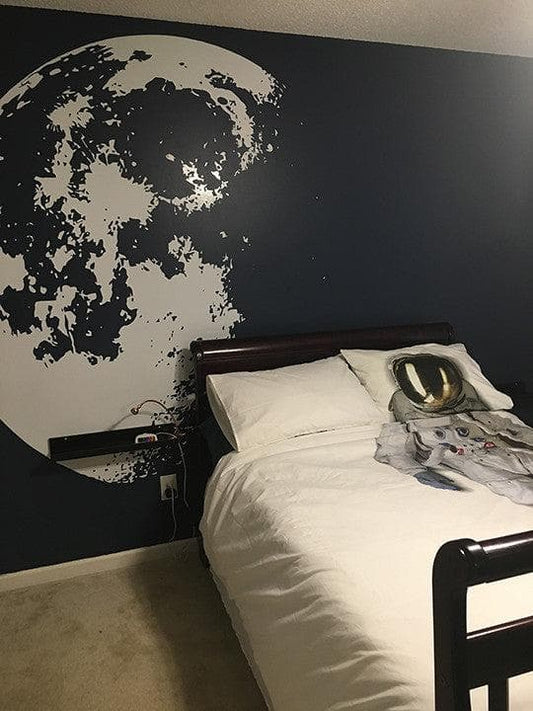
Moon Wall Decal Flowing in Space. Nursery Room Wall Decor. #523
Regular price From $29.97 USDRegular priceUnit price per -
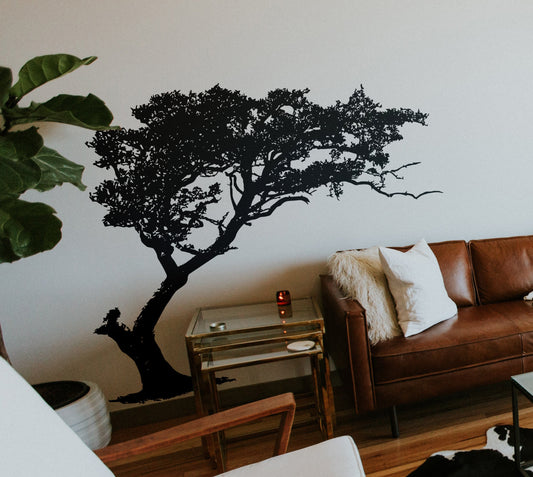
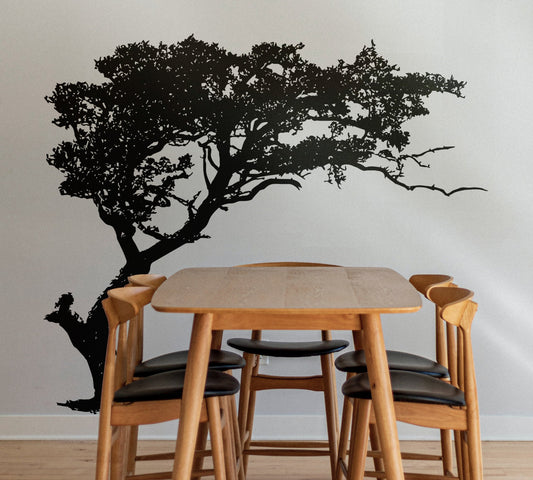
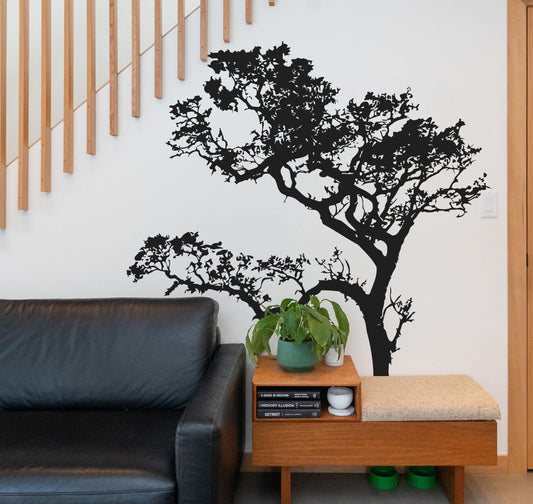
TREE Shade Wall Decal Decor. #312
Regular price From $49.98 USDRegular priceUnit price per -
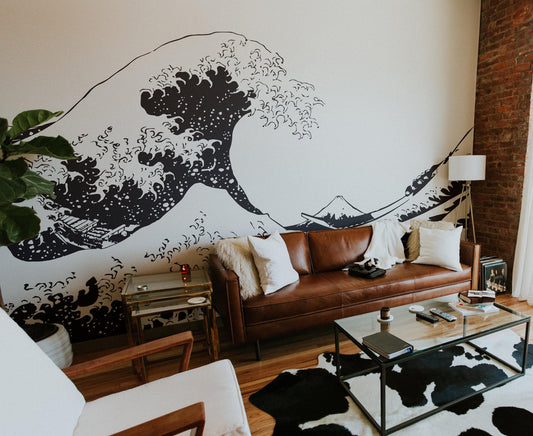
Japanese The Great Wave Off Kanagawa by Hokusai Wall Decal #363
Regular price From $39.97 USDRegular priceUnit price per$135.00 USDSale price From $39.97 USDSale -
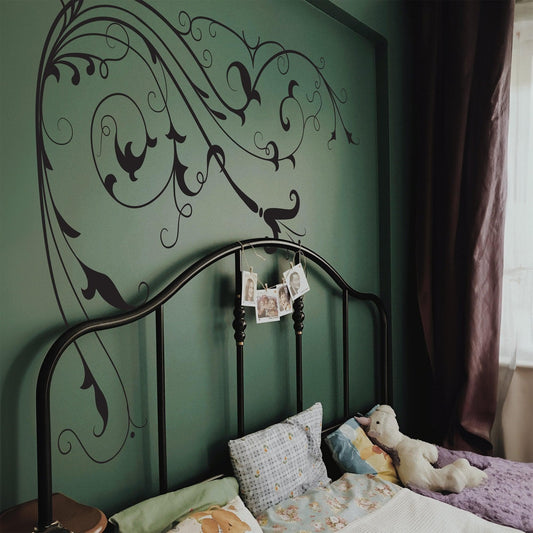
Flower Floral Swirl Vinyl Wall Decal Sticker. #310
Regular price From $39.97 USDRegular priceUnit price per -
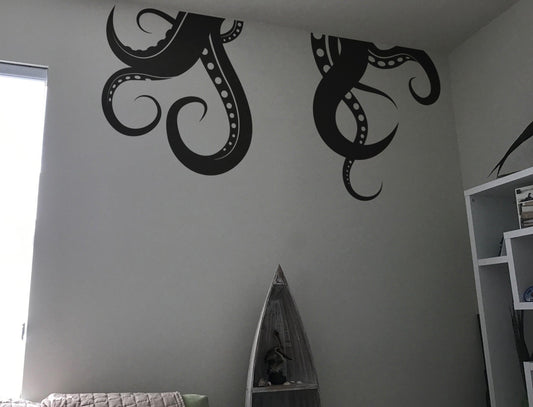
Octopus Tentacles Wall Decal. Perfect for Bathroom Home Decor. #OS_MB316
Regular price From $14.97 USDRegular priceUnit price per -
Be Awesome Today Motivational Quote Wall Decal Sticker #6013
Regular price From $19.97 USDRegular priceUnit price per -
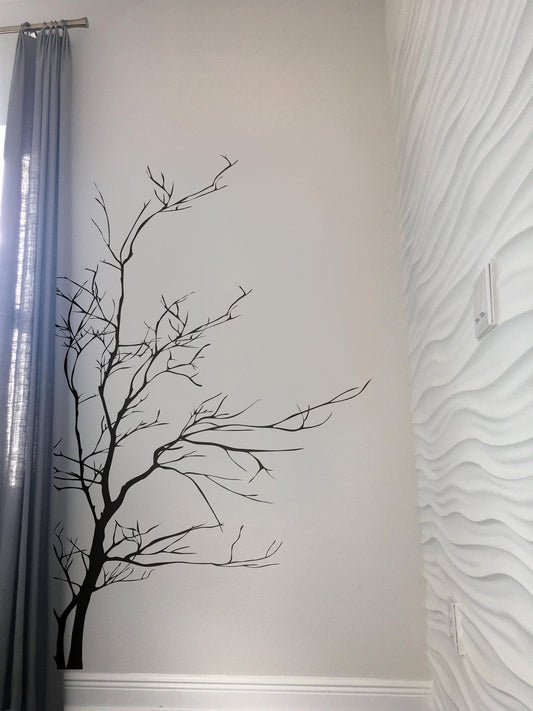
Bare Tree Branches Vinyl Wall Decal Sticker. #AC223
Regular price From $49.97 USDRegular priceUnit price per$64.95 USDSale price From $49.97 USDSale -
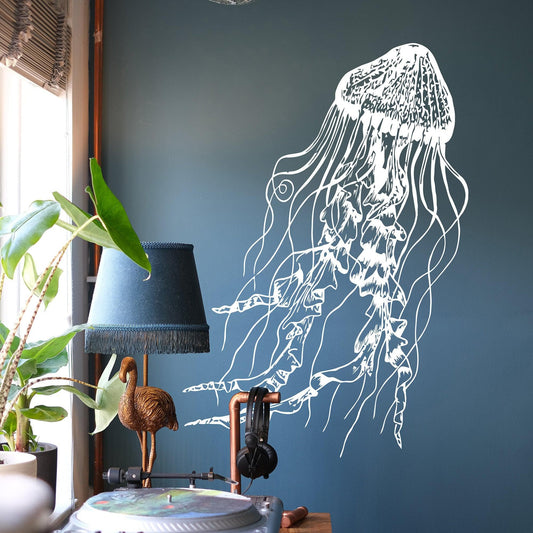
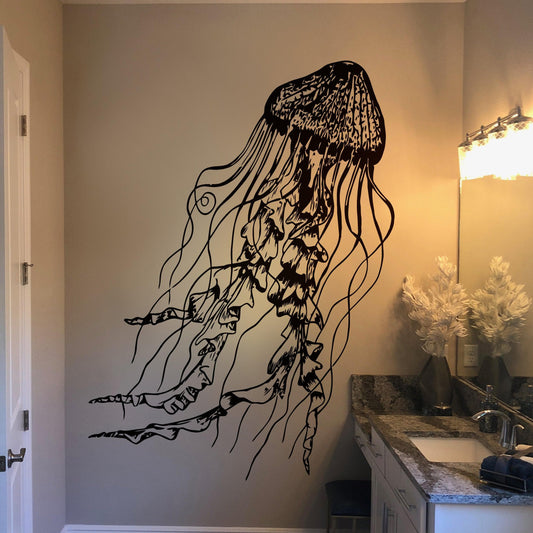
JellyFish Wall Decal Decor. Deep Sea Ocean Theme Decor. #364
Regular price From $24.97 USDRegular priceUnit price per -
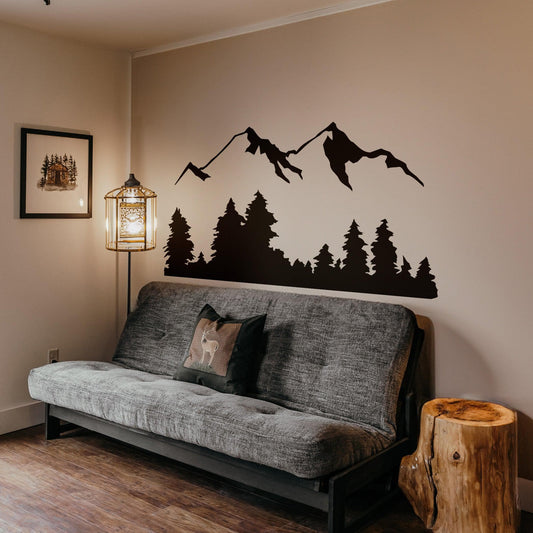
Snow Mountain View Wall Decal Sticker. Includes Forest Landscape. #194
Regular price From $49.97 USDRegular priceUnit price per -
Large Palm Tree Wall Decal Sticker. #132
Regular price From $19.97 USDRegular priceUnit price per -
Birds on Tree Branch Vinyl Wall Decal Sticker. #1002
Regular price From $39.97 USDRegular priceUnit price per -
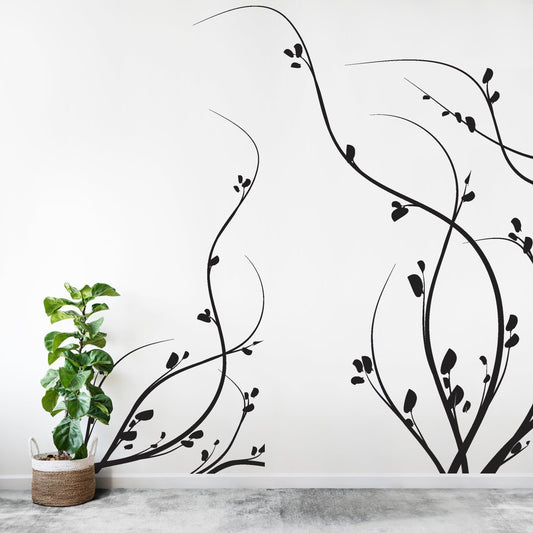
Large Flower Vines Floral Vinyl Wall Decal Sticker. #362
Regular price From $34.97 USDRegular priceUnit price per -
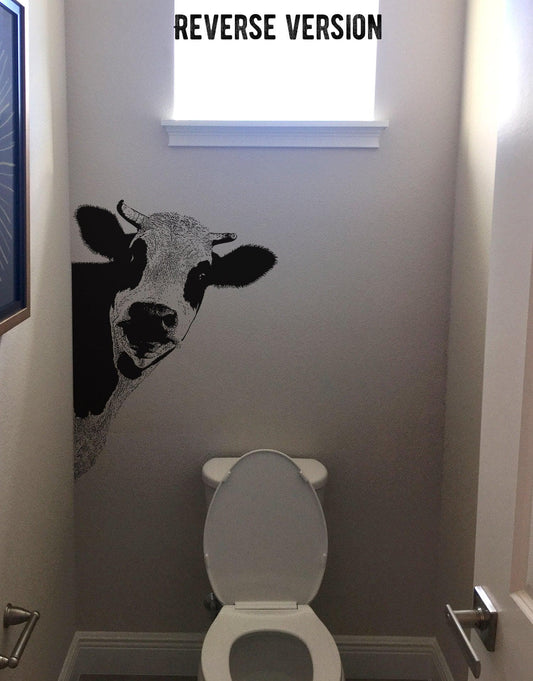
Peeking Cow Wall Decal Sticker for your Kitchen. #5476
Regular price From $27.97 USDRegular priceUnit price per -
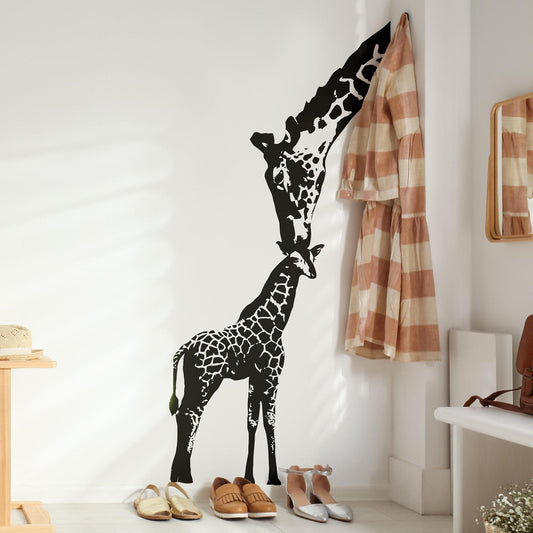
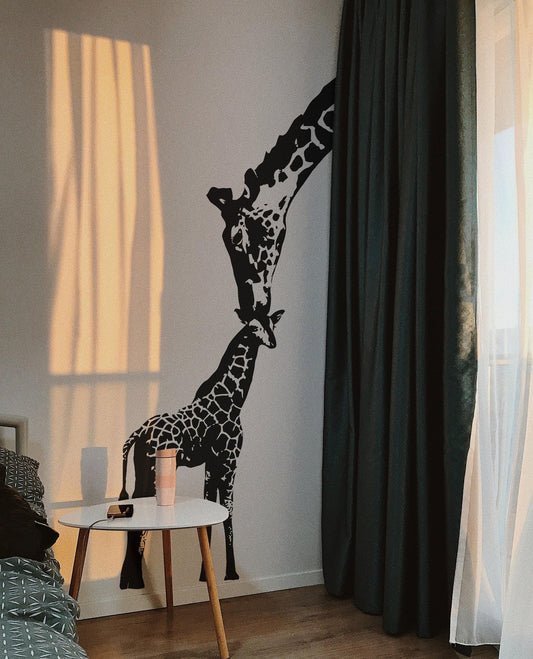
Mother Giraffe Kissing Baby Giraffe Wall Decal Sticker. Playroom Wall Decor. #384
Regular price From $19.97 USDRegular priceUnit price per$30.00 USDSale price From $19.97 USDSale -
Downtown and Brooklyn Subway Sign Vinyl Wall Decal Sticker. #1283
Regular price From $18.98 USDRegular priceUnit price per -
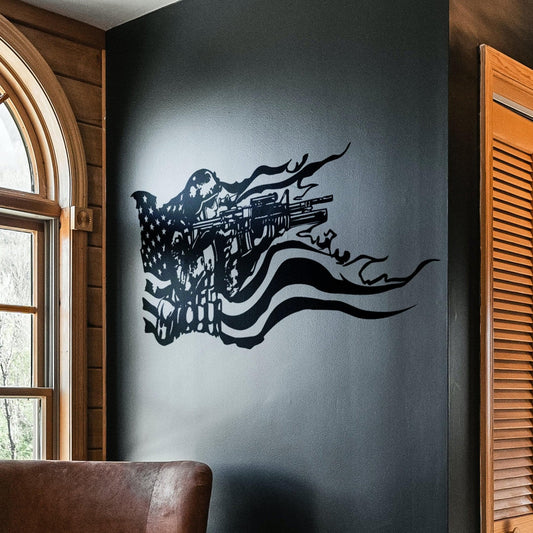
America Flag with U.S. Military Soldier Vinyl Wall Decal Sticker. #GFoster155
Regular price From $24.97 USDRegular priceUnit price per -
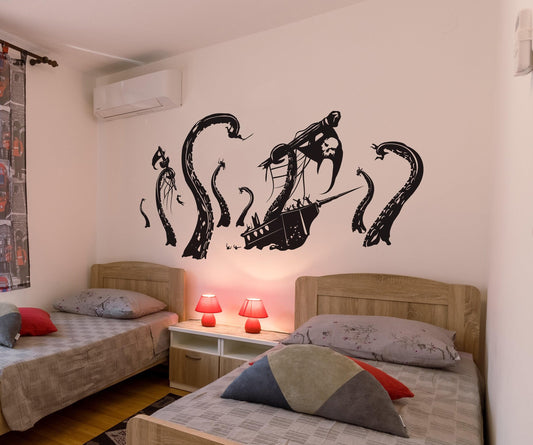
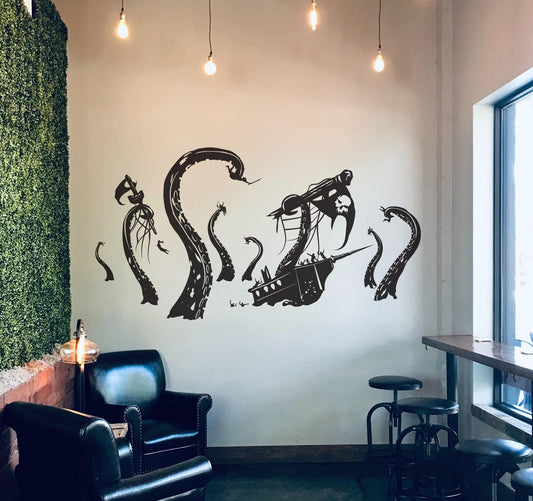
Kraken Attack Pirate Ship Wall Decal - Thrilling Decor for Boy's Room. #GFoster166
Regular price From $18.00 USDRegular priceUnit price per -
Floral Growing Weeds Vinyl Wall Decal Sticker. #372
Regular price $69.97 USDRegular priceUnit price per -
Big Oak Tree Wall Decal. Tree Sticker for Bedroom. #409
Regular price From $39.97 USDRegular priceUnit price per